


We all capture screenshots on a daily basis. Are you looking for a simple way to capture screenshots? PicPick is here to your rescue. With the help of PicPick, you can not only capture screen but also record the active screen. The tool also ships with an intuitive image editor, color picker, color palette, pixel-ruler, protractor, crosshair, whiteboard, blur support, and much more.
You can capture screenshots of whole screen, active window, and scrolling windows including any specific region. You can easily add effects such as drop shadows, frames, watermarks, mosaic, motion blur, brightness management, and much more. After capturing the images, you can even annotate and highlight them with the help of text, arrows, shapes, and much more. The Ribbon-style menu enables users to work effectively. The captured images can be shared via email, FTP, Google Drive, OneDrive, Evernote, Facebook, Box, Twitter, and much more.
PicPick Installation
The main advantage of PicPick is that the product is available free of cost for personal home usage. You can work with the tool for non-commercial purposes. The company will throw in updates but only through manual mode. Moreover, the product team will not provide any technical support. The Professional version is available for $24 with auto-update functionality with premium technical support. We already have been using PicPick for some time.
Working with PicPick
To work with PicPick, you should open the app from the Windows 11 Start menu. You will view a dashboard as shown below
You can select a specific region for screen capture from the dashboard. There are several options like Full-screen, Region, Fixed Region, Scrolling Window, and much more. You can capture an instant screenshot of the active desktop just by selecting Full-screen option. The relevant capture will open inside PicPick editor. You can make use of the tools available on the Toolbar to decorate the captured image. You can add stamps and shapes to the desired area with the color of your choice.
Sometimes, you will be required to blur certain areas of the captured screenshot. This includes email address etc. You can add a blur effect easily by selecting the relevant area and clicking the Blur tool. You will have to click the Blur tool several times to deeply morph the image.
The interesting point to note is that the screenshot can be captured just by pressing PrtScn key. You can also share the screenshot to cloud storage services including sending it directly to Microsoft Office.
Recording Screen
You can record screen by selecting Screen Recorder option from the PicPick dashboard. You will view a screen as shown below
The next step is to select the recording area. PicPick provides several pre-defined dimensions, which you can select. You can also provide a custom size based on your requirements. You should select REC icon to start the screen recording process. You can render output either as an MP4 file or GIF. You can also manage various settings such as hotkeys. The output folder can be directly opened from the navigation panel located on the top portion of the Windows 11 desktop.
PicpIck also includes several tools such as color picker, color pallete, magnifier, whiteboard, and much more. You can draw something on the screen and share them by capturing a screenshot using WhiteBoard functionality. This feature will be useful for educators.
Conclusion
PicPick is an excellent tool using which you can not only capture screenshots but also record screen. We have been working with PicPick for a long time and found it excellent. The familiar Ribbon-style user interface will be ideal for users who have already worked with Microsoft Office. A tap on the PrtScn key is all needed to capture screenshots. You can then add decorations and effects to enhance the image. You can also remove unwanted areas by dragging the placeholders. The tool is available for free for personal use without any restrictions. We highly recommend PicPick for all your screen capture requirements.
This post is part of #BlogchatterA2Z challenge
PicPick
Free/Paid
Pros
- Easy installation
- Simple to use
- Intuitive ribbon interface
- Screen recording module
- One click screenshot
- Image editor
Cons
- None
more recommended stories
 Photomarks Review: Brilliant Watermarking Tool
Security is a vital factor to.
 MagFone iPhone Unlocker Review: Unlock iPad without Passcode
Apple iPhone, iPad, and iPod touch.
 MyRecover Review: Smart Data Recovery Tool
Nowadays, data has become an inevitable.
 Tuneskit Audio Capture Review: Brilliant & Simple Audio Recorder
Imagine a scenario where you need.
 HD Video Converter Factory Pro Review: Amazing Video Management Tool
Nowadays, videos have taken over the.
 ZEDGE Review: Is it a better app for wallpapers?
Do you want additional wallpapers and.
 YouCam Perfect Review: Is it just another image editing app?
Nowadays, smartphones have become part and.
 X Launcher Review: Is it an impressive launcher app?
Normally, you work with the standard.
 WebbyStocks Review: Will it deliver results?
Are you running a blog? You.
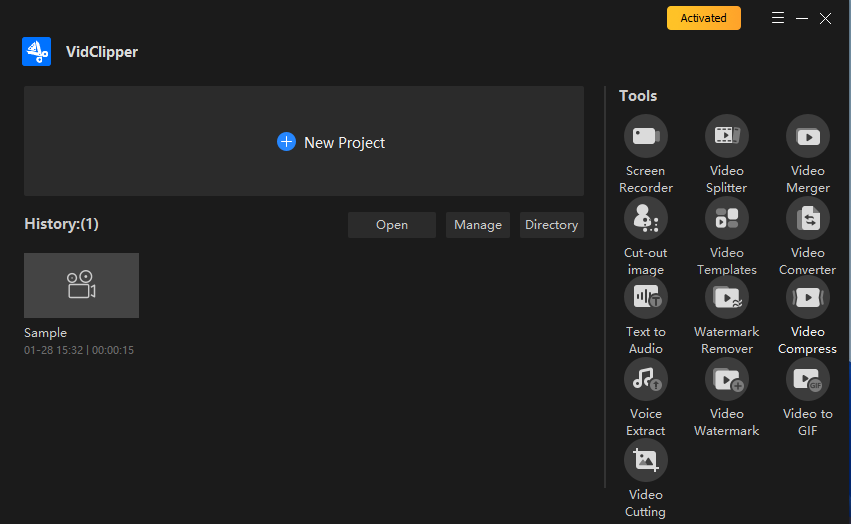 VidClipper Review: Ambitious Video Management Tool With Flaws
Videos are becoming new normal. Hence,.
Leave a Comment